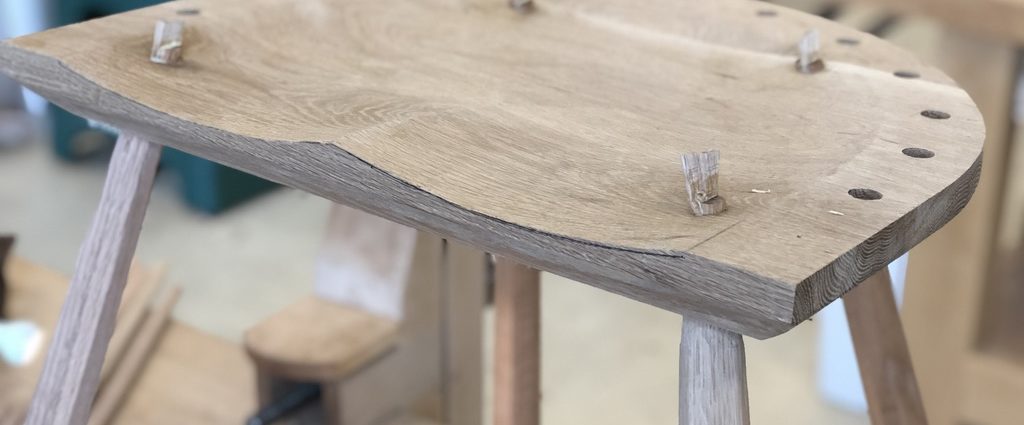
Saddling and Shaping The Seat of A Chair
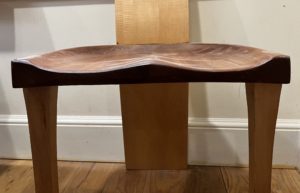
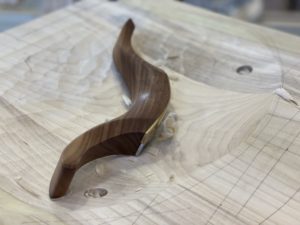
When making a wooden chair you don’t want to have your butt hit a flat piece of wood each time you sit on it – like a church pew – it’s kind of uncomfortable, so you want to shape it to a more ergonomic friendly shape. This is known as saddling the seat.
The Seat Saddle
How to Saddle The Seat
You can shape the chair seat using a variety of tools – both power and hand-based – to remove the surface of the wood to various depths depending on the design of the chair.
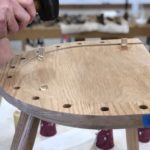
Your first step is to lay out where and to what depths the saddle is going to be. The deepest point of the seat is usually at the back – so that you slide to the back of the chair as you sit down. Whatever the deepest point is, you want at least a ¼” difference from front to back.
You also want to know where the tenons at the tops of the legs are going to come through as well as where the spindles for the back of the chair will connect.
If you are new to chairmaking, there are lots of chair plans you can purchase out there. You might want to start with the Stick Chair Book by Lost Art Press.
Using Handtools to Saddle A Chair Seat
If you want to carve the seat out with handtools, you start with the aggressive cutting tools and work your way down to finer cuts, so the sequence of tools is generally:
ADZE
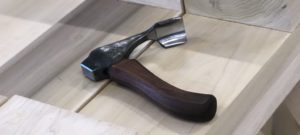
SCORP
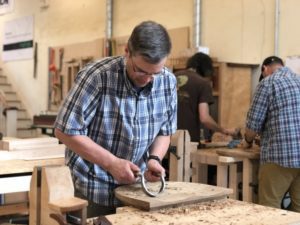
TRAVISHER
Using Power tools to saddle a chair Seat
If you are going the power tool route, you’ll find the following tools useful:
- Power carver
- Router
- Sander & Hand sanding
You are likely to use some of the hand tools at the end to get a nice smooth finish.
But not matter how you get there your end goal is to have a smooth, comfortable hollow that dips towards the back slightly.
If you are interested in learning more about chair making, check out the classes at the Florida School of Woodwork in Tampa. CHAIR MAKING CLASSES

