A Student Story – Decorative Table by Bob Vergette
Apprenticeship Class with Michael Fortune & Kelly Parker
I attended the apprenticeship design course taught by Michael and Kelly at the Florida School of Woodwork. During the course I designed two tables, one with an oval top and arced legs similar in shape to the table shown in the photos except the legs were to be built up out of 3 pieces of 4/4 stock.
I made a full-sized mock-up of this table at the course. The design of the table top and base is ideal for veneering. I still plan to make that table but I decided that the space that I have in mind for a table is better suited to the second table that I have just completed.
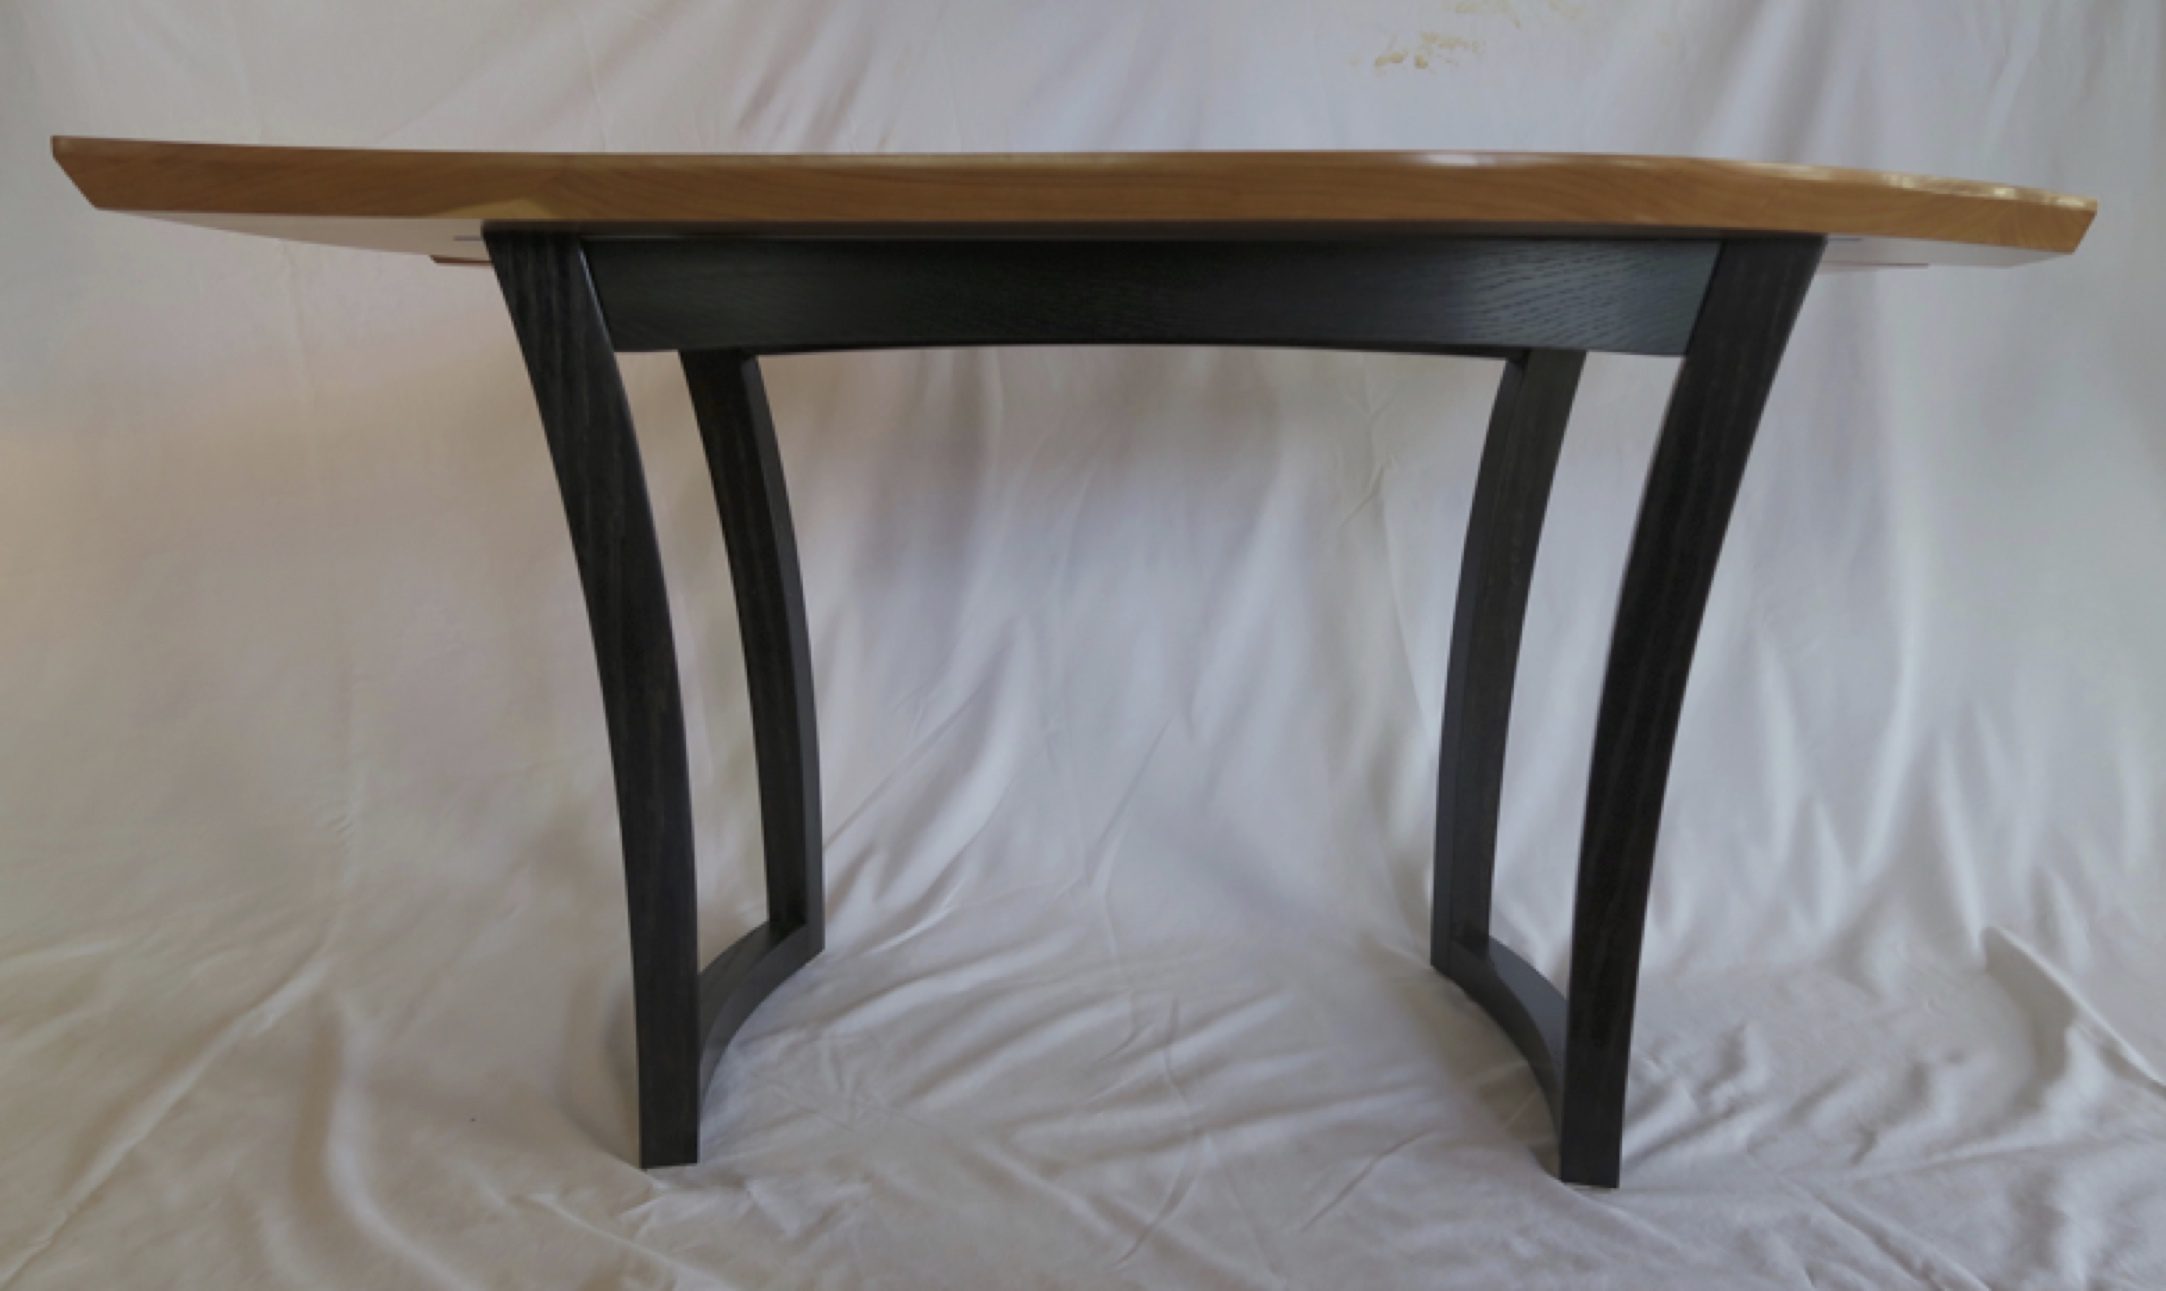
I worked on the shape of the top at the course and after a number of iterations and with great advice from the two instructors I came up with what is shown. I did not have a complete concept of the base but liked the idea of tying the legs together back and front with arced members on the top and bottom of the legs. I was hoping this would provide lateral stability. Once I got home I made a full-sized mock-up with a door skin top with cardboard edging.
Originally, I had straight vertical legs but consulting with Kelly she suggested that it would look better if the legs were splayed out at an angle. I tried this but decided to go one step further and make them arced.
In the course, we learned about pattern routing and I used this on the legs with a compression bit. Instead of using clamps I made the legs long enough that I could screw the mdf pattern to each end of the legs. This allowed me to flip the pattern over so I was always routing down-hill, resulting in a smother cut. A smoother cut is also aided by one-handed bandsawing that I learned at the course resulting with little waste to route away.

For my mock-up I did not have a skirt front and back but Kelly suggested it may not have enough lateral stability without a skirt. I used an important takeway from the course where Michael demonstrated the use of tablesaw jigs that slide in the miter slot and that hold parts securely and in a consistent position for repeatable cuts. I used this technique for the angle on the top and bottom cross members, the top and bottom leg cuts and the tenon surface on the inside of the legs where the skirt meets the legs.
At the course we learned about sub tops and I used that technique to attach the two-piece table top to the base. I used ¼ inch thick aluminum plate which I inset into the top and screwed into the base and the top.
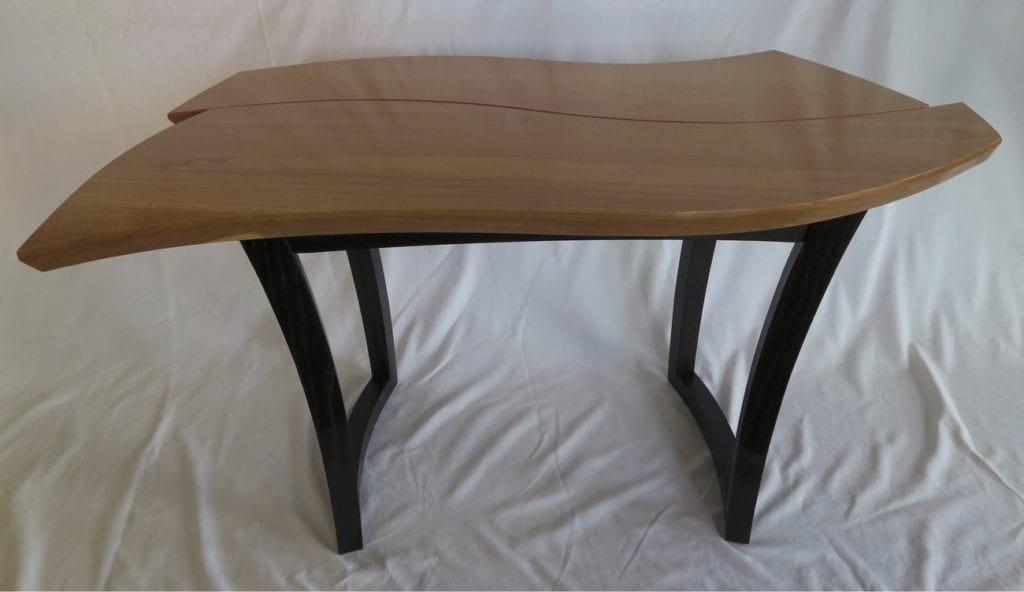
I did a lot of playing around with edge treatment before settling on a small vertical facet above a back bevel. The top is a 1 3/8 inch in thickness but by breaking the edge into two facets it tends to lift the top. All of the edging had to be done by hand mostly with a spokeshave.
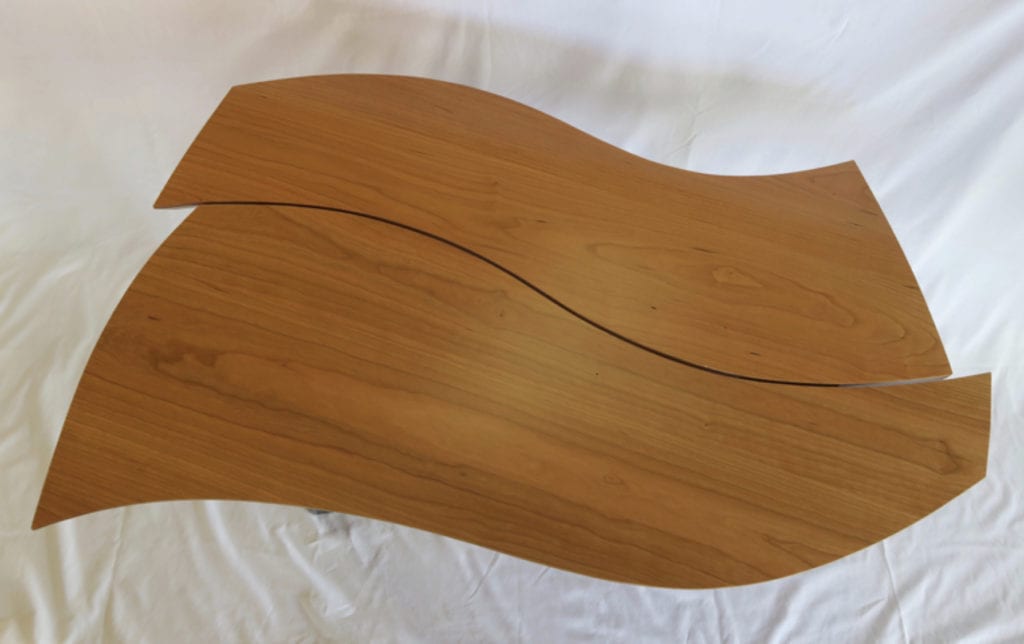
Originally, I was going to use a very figured western maple, that I have been storing, for the top but after I had it cut out and planed it did not look right. The wild grain seemed to conflict with the wild shape. Kelly confirmed my concern and I decided that fairly plan grained cherry would be the best option.
I like the combination of the light brown cherry with the ebonized oak. Ebonizing an open grained wood like oak results in some brown grains showing on the surface and complements the black of the adjacent closed grained part.
The table top is made from cherry finished with Wipe-On Poly over shellac and the base is ebonized red oak finished with the Poly.