
Using the Witches Brew to Ebonize Wood
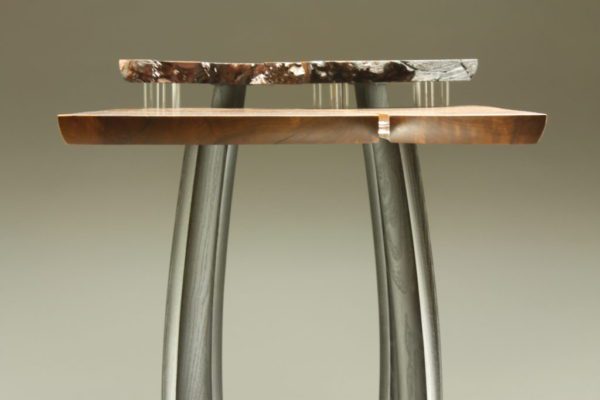
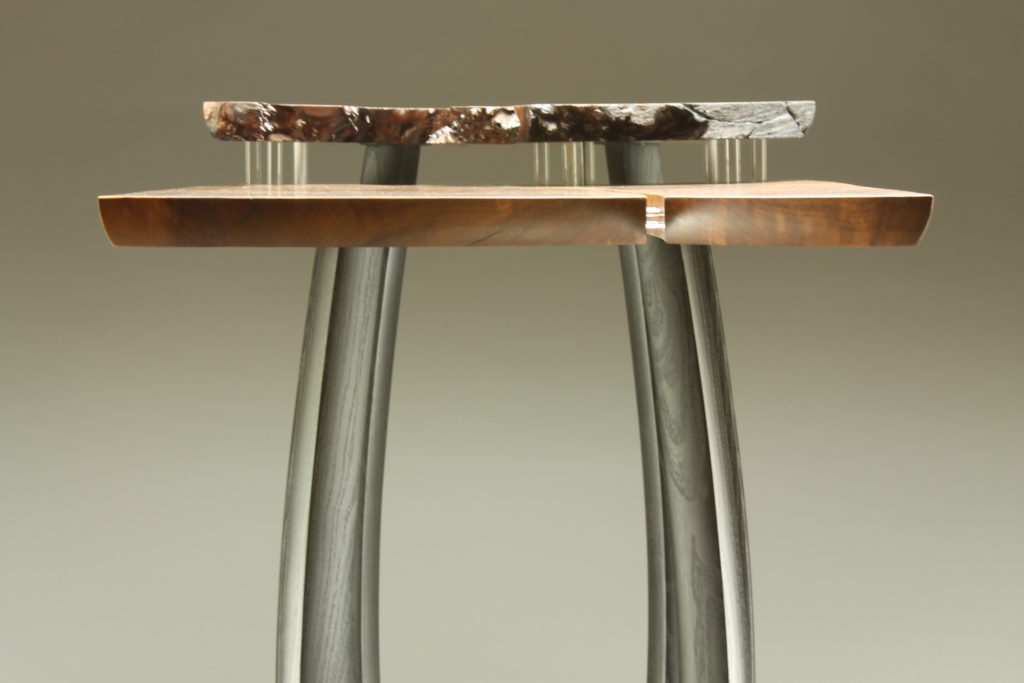
In a recent class at the Florida School of Woodwork, we showed students how to ebonize wood. Ebonizing is different from dying wood in that the process causes a chemical reaction with the tannins in the wood. While you could say that both dying and ebonizing turn the wood black, ebonized wood seems to have this remarkable luminosity to it. It’s hard to put your finger on, but it just looks beautiful.
The process is easy, it is just that there are several steps to it.
The Witches Brew
The first step is to make the “Witches Brew” and the second main step is to apply. Let’s start with the how to make the brew. The brew is made up of two mixtures: A tannic acid solution and an Iron Acetate solution.
How to Make Ebonizing Solutions
Witches Brew Ebonizing Recipes
Be smart – wear eye protection
- Tannic acid:
- Soak 10 bags of black tea (plain ‘ol black tea, no flavors, no other kind) in 2 cups of water for 24-48 hours
- Squeeze tea bags and discard
- Iron acetate:
- Wash a bun of steel wool 3x in lacquer thinner to remove oils; allow to dry. I usually put it out in the sun on a piece of cardboard.
- Cover the clean steel wool with 2 cups of white vinegar and allow to process for 48 hours
- After 48 hours filter the vinegar several times to remove any remaining steel particles
The Iron Acetate brew is going to bubble and get warm to touch. It will seem like something is cooking in the container.

Applying The Ebonizing Brews
Once the brews are ready, you can start the application process. Here is the sequence of steps you will follow:
- Prepare your wood
- Apply Brew 1
- Apply Brew 2
- Let dry and repeat as needed
Remember to do a test! I always test my solutions before ebonizing my project. Use the same wood, the same sanding sequence as my project.
How to Ebonize Wood – The Process in Detail
- Prepare you wood surface:
- Sand project to 220 grit
- Raise the grain with the tannic acid solution; sand with 320 grit being careful to not burnish the wood surface.
- Raise the grain again with the tannic acid solution; sand with 320 grit
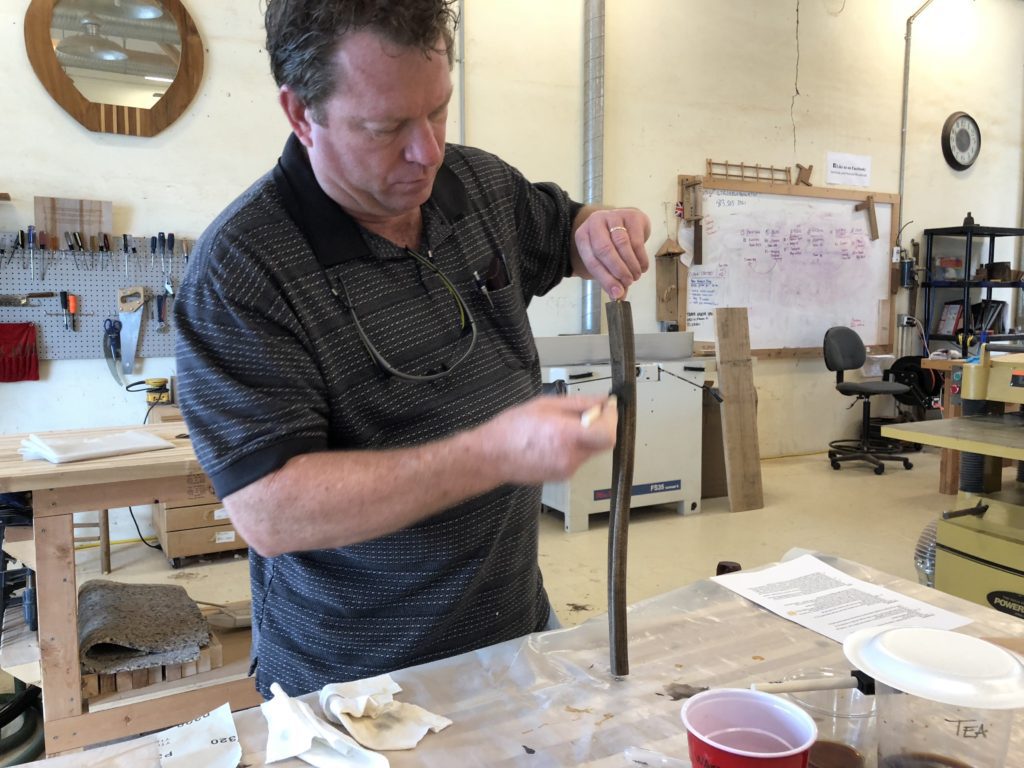
- Applying the solutions:
- Use a foam brush to apply a generous amount of the tannic acid solution. Let the solution to soak into the wood but make sure you manage any drips
- While the wood is damp but not visibly wet use a separate foam brush to apply the iron acetate solution. Again, manage drips so that the color is even.
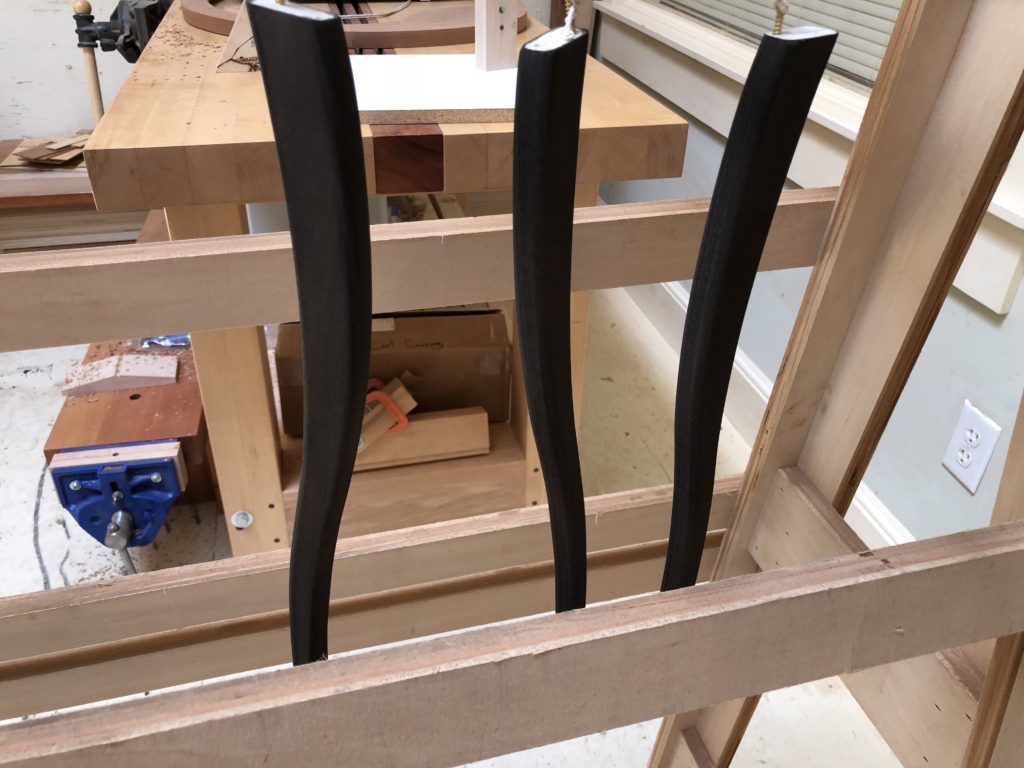
- Look at projects from all angles to make sure that nothing was missed
- The color will continue to darken over the next hour or so.
- Allow the project to dry for a couple of hours. I usually put it in front of a fan.
- After a couple of hours apply a top coat of the tannic acid solution. Allow this to dry overnight before applying a final finish.
Helpful Hints
- Use dedicated foam brushesfor each of the solutions. You want the reaction to occur in the wood not in the containers or in the foam brushes. If you are doing a large project frequently clean your foam brushes to decrease the amount of contamination that inevitably happens when putting one solution over another.
- Don’t work out of the master containers so that they don’t become contaminated.Instead pour out a small amount into other containers.
- If ebonizing a ring-porous wood adding a drop or two or detergentto the two solutions will decrease the surface tension and help the solutions get down into the pores.Use a stiff-bristled brush to make sure you get the solution down into the pores. Again, use dedicated brushes for each of the solutions.

Want Step by Step Instructions?
Choose the download link below and we’ll email you instructions AND a few special tips from Kate Swann!

To find out more about furniture making and special finishes check out the Florida School of Woodwork for more information about classes.
Our thanks to Kelly Parker at Woodsong Studio for sharing her recipes.