
How to Design Furniture
From Design Sketch to Furniture Prototype
How to design furniture part one we learnt how to sketch, model and generate a large volume of ideas. In this part, see how to take one of those ideas, refine it and ultimately build beautiful pieces.
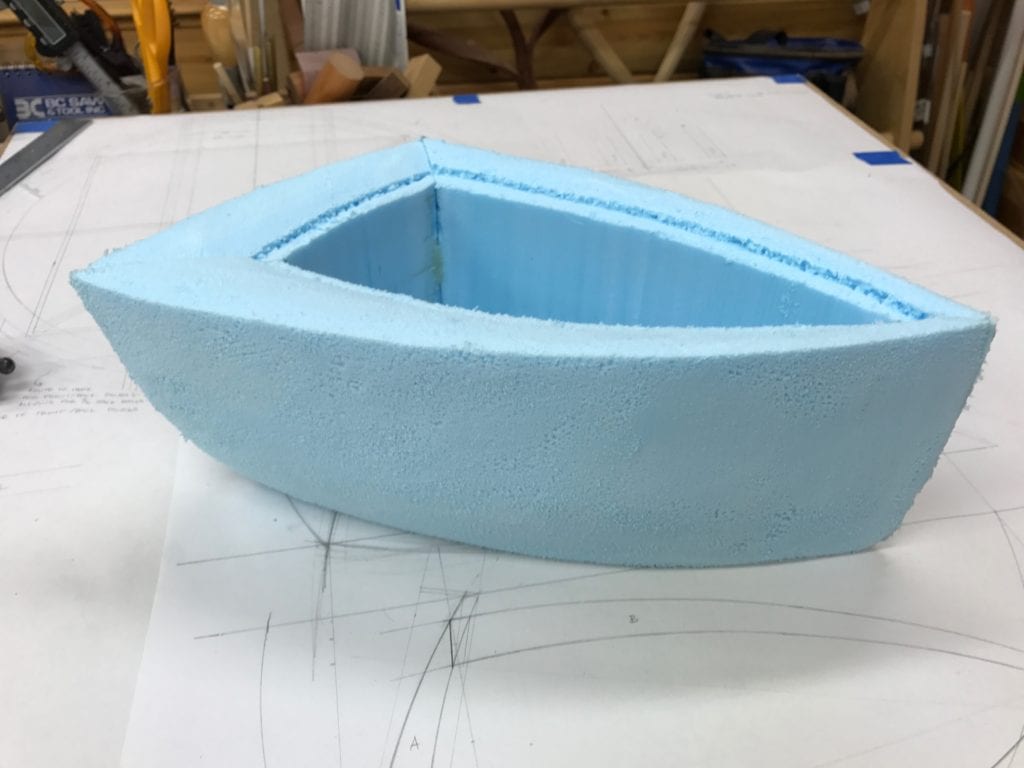
Once you have chosen a design, do a quick, full-sized drawing. From this drawing, make a full-sized mockup. The mockup bridges the design phase of modeling and the build phase of prototyping. My mockups are rather crude and are often made of construction lumber, OSB, air nails and screws. If it is a sculptural object, I might laminate rigid foam insulation and shape it. This is the first time I get to see the object at full-scale. Curved furniture parts are cut out of solid material, not steam bent or laminated.
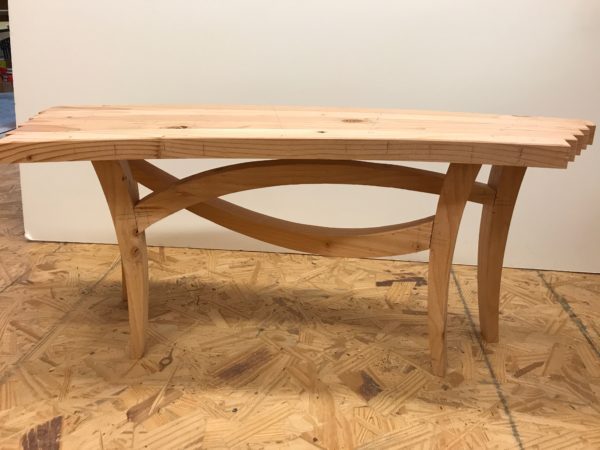
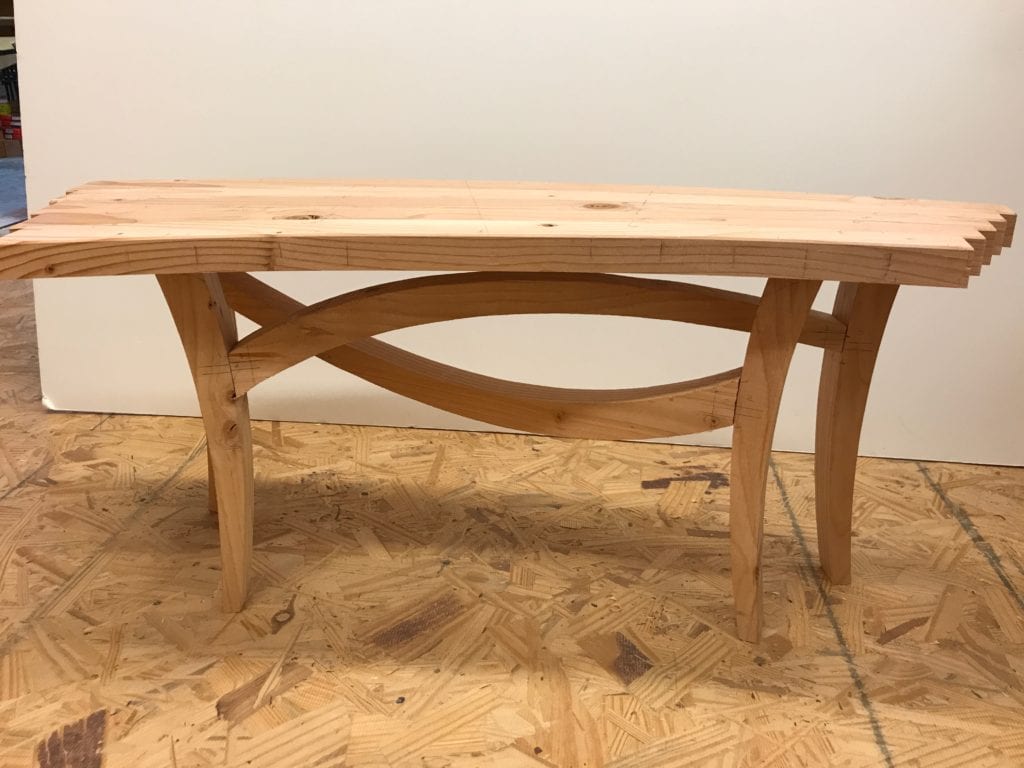
Although my construction and materials are crude, I make sure that the proportions are accurate so that I can evaluate the form. The mockup is mostly a form study, but I will also discover things about the build process with my mockup. For example, I learned that I could not bring the stretchers as far down the leg as I had originally designed and still have enough wood for adequate joinery. Although I ended upraising the stretchers I am happy with the negative shapes created between them.
How to Design Furniture: After the Mockup
Once I’ve resolved my idea with the mockup I will go back and revise my drawing. My work often has curved elements and the full-sized drawing is where I get the information that allows me to make a steam bending form, for example, and templates that define the shape of the elements. Although the full-sized drawing is an important tool for me, I am not a slave to it. I still allow myself to make discoveries along the way and modify the object as I go.
How to Design Furniture: Chairs, Complicated Objects and Prototyping Furniture Design
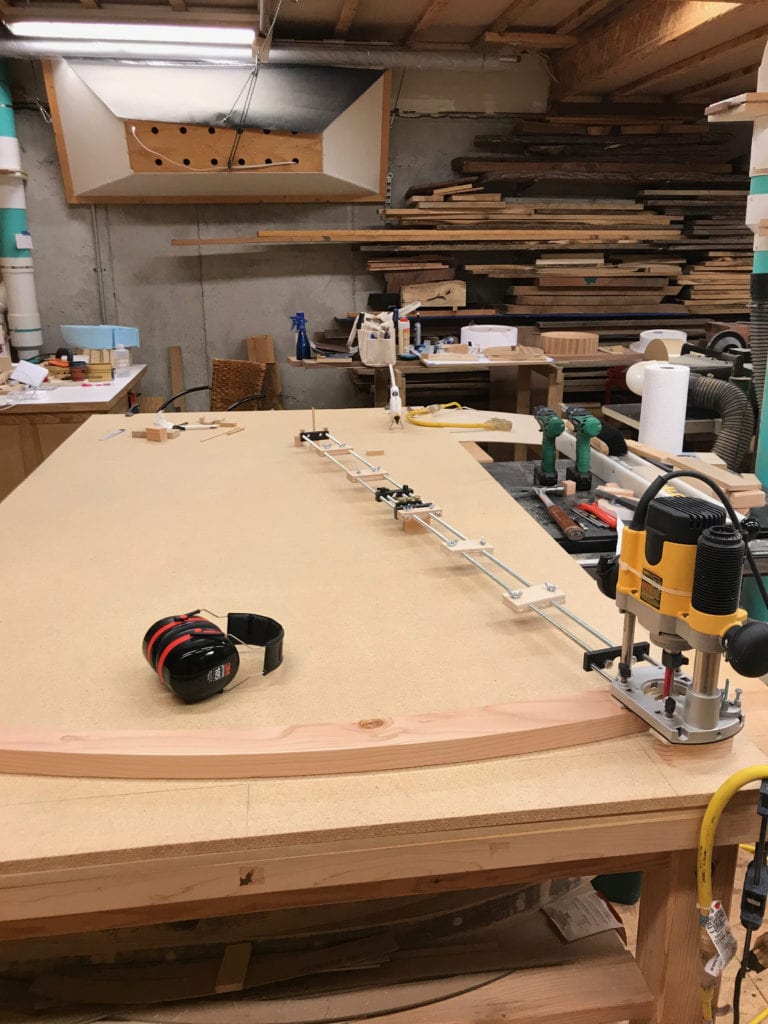
For a complicated object like a chair I will prototype the entire thing. For other objects I might just prototype a joint I’ve never done or some process that’s new to me. It is during the prototyping phase of a project that I use the real material and real joinery, problem-solve the build, make jigs and templates, and work through any surprises that might crop up. Here is where I would steam bend or laminate curved elements. (There is a class at the Florida School of Woodwork on steam bending and laminating. Click here to find out more about the class on this and to Sign Up to learn how to make curved furniture parts.)
Here’s a quick video of Carl Johnson one of the instructors at the School of Woodwork demo’ing a bent lamination glue up (in double time!)
Another important part of the process is documenting my discoveries, capturing all of this information on my full-sized drawing. I make detailed notes that include order of operations, things I wish I would have done differently, dimensions of blanks, tool setup information. Any other random notes that would help me if I were to build the object again. Also, I take numerous process shots of the build. Photograph my jigs, the jig on a tool, the part in the jig, etc., then make notes to myself about whatever was important in that particular photo.
How to Design Furniture: Building the Object
The final step is to build the object. Finally!!! Once I have resolved the design, worked though all of the joinery and made the jigs, building the actual object is relatively quick and straightforward with little chance for error.
Once the joinery is complete I can turn my attention to shaping the parts. I very seldom use an off-the-machine finish on parts and often hand shape them. Jigs that I built for a certain operation may be modified to hold parts as I shape them or used to do a glue up.
Although my final object often looks different from the original sketch or model, those tools are crucial in getting me to the finish line. And I know this process guarantees that I’ll create something that is truly unique.
So, grab you sketch book, plug in your hot glue gun and turn you imagination loose!
Looking forward to seeing your designs! Post them on our Facebook page.